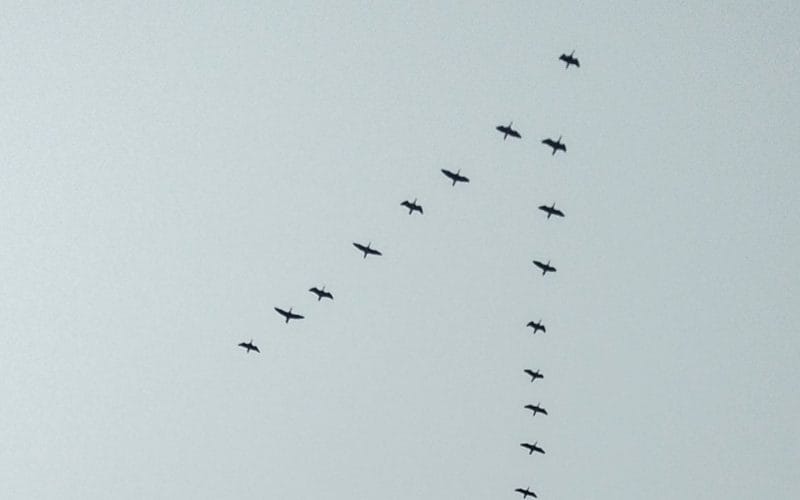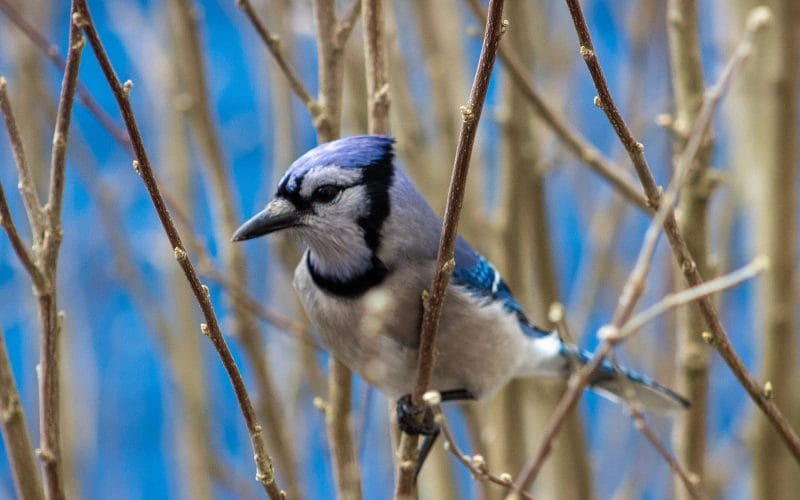


We all know birds aren’t as easy to attract as dogs. While a little puppy might come out of his hide place if you call him out, some species of birds won’t show you themselves even if their lives depend on it! Typically, humans tried to find a way around it. It’s not like us to leave animals alone. So, a lot of people are now creating wooden bird calls to imitate some birds’ sounds. That way, they think one of their family is calling them, and they fly out. Ever wonder how to make wooden bird calls?
Fear not! This article shows you how to make wooden bird calls for your next watching trip. We’ll need some wood-crafting skills, so I hope you have your protective gear on!
List of the Tools You’ll Need
Here’s a list of everything you may need for making wooden bird calls. If you don’t have any of them, and you know a replacement for it, by all means, go ahead. What’s important is to get the final result you want by any means you got.
- Wood lathe
- Spindle gouge
- Roughing gouge
- Carbide scraper (Preferably with a round tip)
- Drill chuck (Jacobs Chuck)
- Skew
- Drill bit
- Wooden log
- Wax
- Sandpaper
- A bird call
Step 1: Prepare the Wood
Dealing with a blank of wood is challenging, especially if you’re a beginner. That’s why the first step for making wooden bird calls is cutting the wood chunk you have into smaller squares. The typical wood blank would measure around 1.5 x 1.5 x 5 inches.
When cutting into squares, make them 5-inch long. You can use a woodcutter or a bandsaw to cut your wood—whatever you’re good at.
The next step will be mounting the wood piece you cut onto the drill chuck. The chuck should clamp on the wood square well, so it doesn’t fall in the middle of the task. Drilling chucks usually have two sets of jaws. You’ll find a V shape carved into them; the center of your wood should align perfectly with the jaws.
If you don’t own a drill chuck, you can cut a tenon and use it instead with a four-jaw chuck.
Step 2: Drill the Hole
Author Note: Next, it’s time to clamp your drill bit and start drilling into the wood blank. The size of the bit you choose should depend on the type of bird call you’re aiming for and the hole size you want. It would be best if you mounted it in the tailstock.
Afterward, it’s time to get your wood lathe out. Start by running it at low speed, so the wood doesn’t become too hot. If you do otherwise, your wood may get burnt or crack, and the drill bit may get damaged in the process. A speed of 300 rpm would be more than enough.
After you adjust the speed, turn the quill. In turn, the drill bit will push into your wood blank. While you’re running the lathe, make sure to stop it every once in a while and pull out the bit. That way, it’ll allow you to clean the wood of the chips that’ll result from the process.
Step 3: Turn the Wood
Now that you’re done preparing your wooden blank, it’s time to turn it into the call. You’ll raise the lathe speed to be normal; I recommend adjusting it to 2500 rpm. However, if you’re comfortable with a slower pace, keep it at that level. Also, bear in mind that a higher speed will result in smoother, more concise cuts.
Before running the lathe, you’ll want to make sure that your tool rest is where it should be, or else the wood may hit it while the lathe is on. To do that, raise it so the turning tool’s cutting edge meets the spindle’s center. Then, give your lathe a spin; if no hits occur, you’re good to go.
While the wood is turning, use the roughing gouge to shape your wood into a cylindrical shape. Afterward, round its end, so it forms a perfect circle. Once you’ve done that, you can then grab your carbide scraper to widen the drilled hole’s end.
The scraper will make your mission easy because it smoothly slides in and out of the hole, thanks to its slim form. When hollowing the wood’s wall out, leave about ⅛ an inch.
Step 4: Skew the Call
After you’re done rounding the cylinder and its end, use the spindle gouge to remove the wood chips from its surface. Cleaning it will give you better visibility and let you proceed to the next step better.
It’s preferred to use a skew to shape the call’s end because it’ll get the best results and leave a smooth surface. However, skews are among the most challenging tools to use, and not many people know how to do it correctly. So, to avoid any unnecessary incidents, you can replace the skew with a scraper or a spindle gouge. That being said, bear in mind that these tools will get you to spend more time sanding later on.
Step 5: Shape the Call
Now, it’s time to make the call into the design you have in mind. If you don’t, you can make random grooves and round the end, and you’ll still get a pretty shape. However, it’s always better to have a reference to work by.
Author Note: On top of that, you’ll want to decide whether you’ll hang the call using a lanyard. If you want it, you’ll have to make a groove for it. Hunters are the ones who usually need this feature; it allows them to have the calls close around their necks, so they don’t have to reach into their pockets every time they need it.
To make the grooves, use any parting tool you have. You can use the skew’s edge if you want to cut something before grabbing the parting tool. That way, your tool won’t tear the wood fibers out and ruin the surface.
Step 6: Sand the Wood
Sanding is the least favorite step for anyone who’s worked wood before. It’s a nuisance, but it’s a must to do if you want a smooth bird call. There are some things to take care of, though, if you haven’t used sandpaper before.
Sandpaper is too rough for your finger; if you wrap it around a finger, the results could be disastrous. So, always bear in mind to treat it carefully, especially when sanding the inside of the drilled hole.
You can wrap the sandpaper around anything you have, such as a pencil. That way, it won’t harm you, and the process will go smoothly.
You can choose the grit according to the part you’re sanding. For the drilled hole, it’s recommended to use 150 grit. Then, you can switch to 320 or 240 grits when moving up the grooves.
Step 7: Apply the Wood Finish

After your wooden call is entirely sanded, you can move on to the finish. Before proceeding, stop the lathe for a bit to clean the wood of the tiny dust. Next, you can start applying the friction finish.
No one wants to apply an uneven layer of finish. It’ll render the shaping effort useless, which we want to avoid. To keep the layer even, it’s better to use a cloth to apply the finish. Squirt some of it on any fabric you have, and run it by the wood while the lathe is slowly turning.
Firstly, you’ll need to remove the tailstock to be able to do the insides. Then, return it to its place and coat the exterior surface.
Lastly, turn the lathe on again at a moderate speed—1200 rpm will be sufficient. Then, use a clean paper towel to buff the coating. The friction will generate heat, which will get the wood finish to shine.
For the finish to be vibrant, you may need to apply more than one coat. Three coats would be sufficient for a bird call.
After you’re done with the finish, it’s time to apply a coat of wax to the entire wooden call. Then, run the lathe and buff it off, and you’re done.
Step 8: Install the Call
Author Note: Now that we’re done with the wooden body, it’s time to install the bird call you purchased. But first, you should separate the call’s body from the wooden blank. For that, you can use any parting tool you have lying around. Just hold the wooden piece with one hand, and cut using the other.
To install the call, you should follow the instructions on your purchase. The package will likely have some plastic pieces with it that you can use to fit the reed.
Closing Thoughts
Now that you have your wooden bird call, you can trick any bird into getting out of hiding! You’re in for some impressive sights on your next trip.
The process is long, and it requires some woodworking skills, but the result will be worth it. Just make sure you’ve got the right call. You don’t want to call for a Downy woodpecker only to get a Red-bellied one!
Fly high friends!