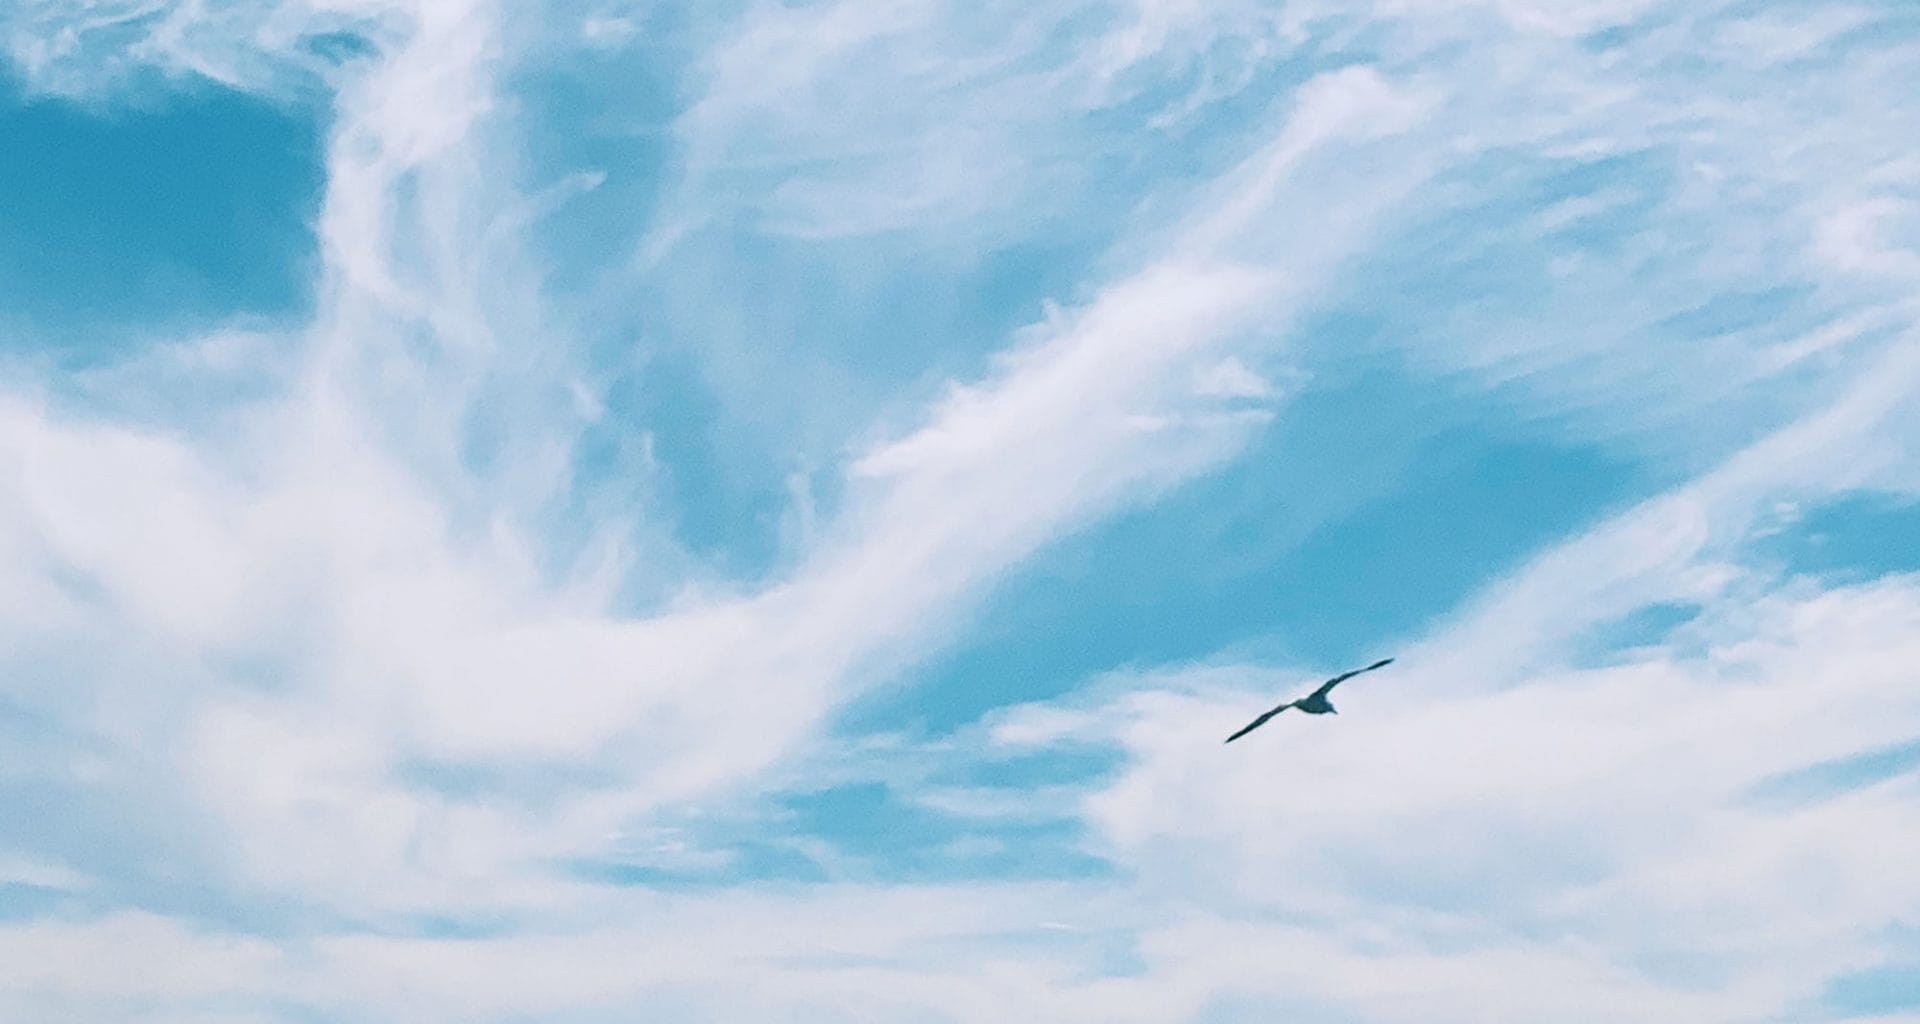
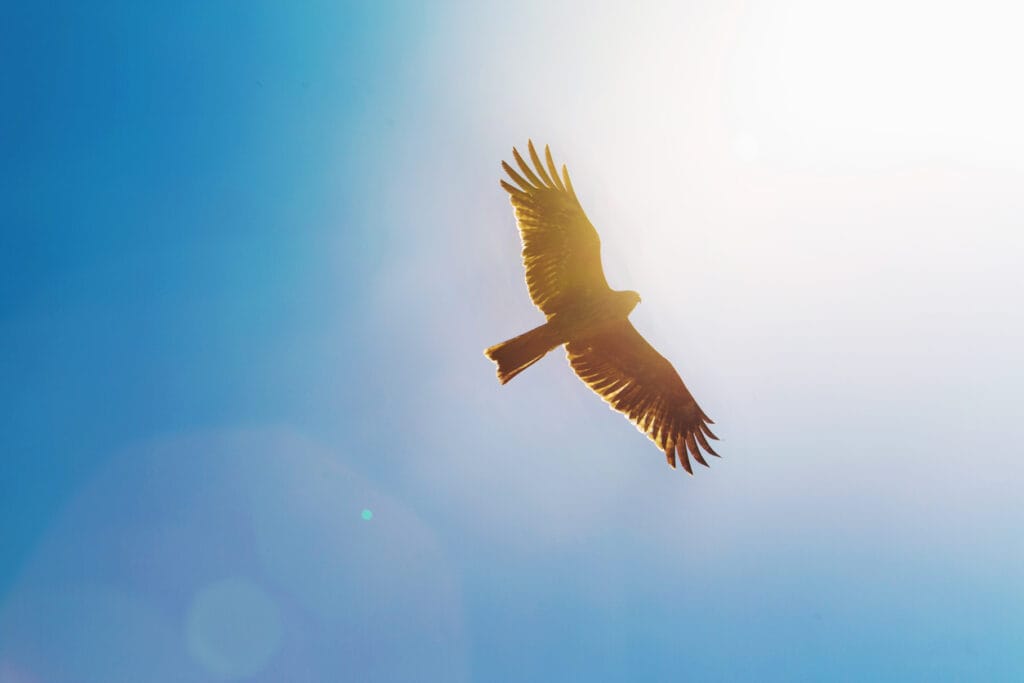
Taking a picture of birds in flight is a dream of many photographers, amateurs and professionals alike. Yet, many factors can make this goal tricky, including the bird’s speed, flight style, and your own camera’s capabilities. What’s even more challenging about this is that the sun in the background can cause glare in your photos. Of course, that could leave you with distorted details and a low-quality picture. So, how to photograph birds against a bright sky?
You can start by following these tips!
Step 1: Choose the Perfect Time and Position
A huge part of taking a mistake-free picture of a bird is knowing when and where to start shooting pictures. It all depends on your position in relation to the weather elements.
The first thing you need to do is ensure that you have the sun and wind at your back. But why is that, you might wonder?
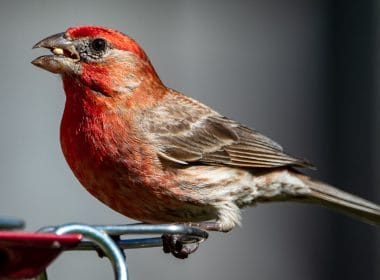
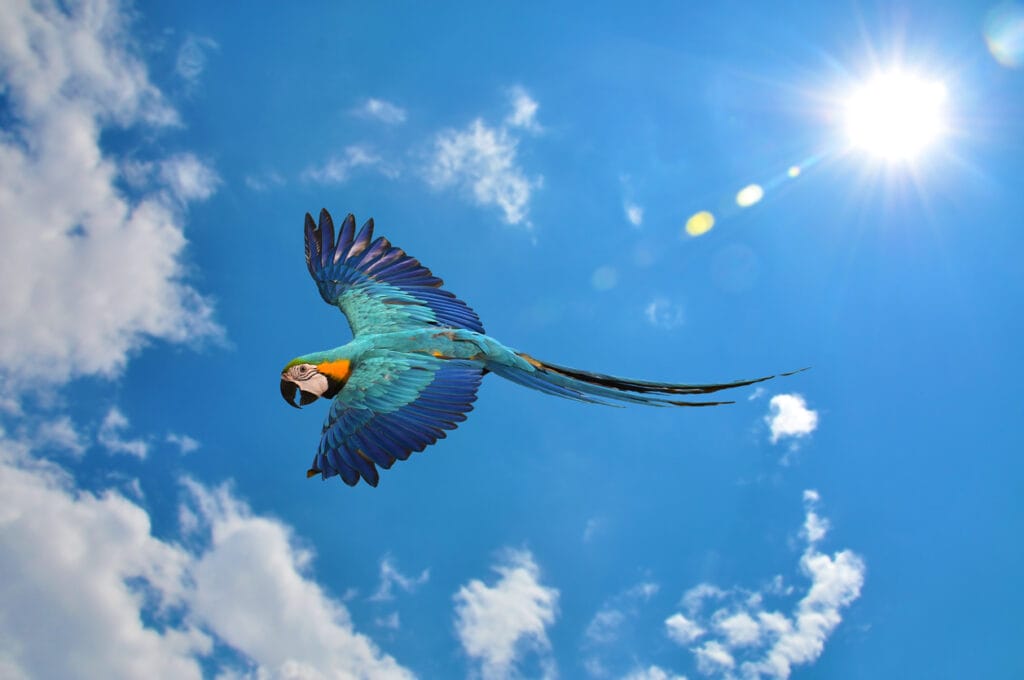
Having the sun at your back will minimize the glare in your pictures. Plus, it’ll illuminate all the physical features of the bird nicely, from their heads to their tiny feet.
Also, because birds tend to fly into the wind, you’ll have them coming your way when you keep the wind behind you. And if you get the bird to fly toward you at an angle, that’s a welcome bonus that will make your shot even better.
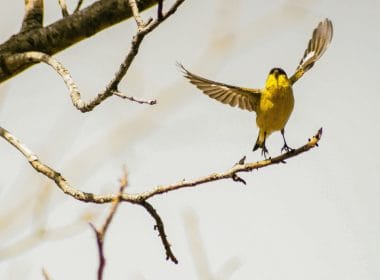
Additionally, when birds approach you in that position, their speed will be slowed down by the wind. So, you should be able to catch them in all their glory with their underwings in plain sight and their heads in the lead.
Step 2: Know the Birds’ Flight Paths

You can’t just head outside, take your camera to a random location, and expect that a bird will show out of nowhere. You must have some background knowledge about the bird you’re aiming to photograph.
Determine which bird species you’ll be going after, then use an online identification guide to learn more about it. Take note of where you’ll likely find it in your state, when it tends to show up, and how it behaves.
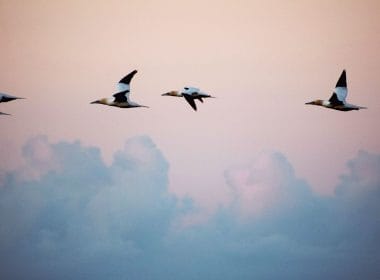
Author Note: This way, you should be able to predict where and when you might witness it. Even better, you could aim for roosting or migration seasons when birds will flood the sky in huge numbers. This gives you the chance to practice your photography until you land the perfect shot.
Step 3: Don’t Shoot Against Detailed Backgrounds
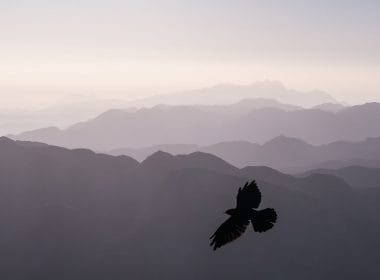
Your best bet is to take pictures of a bird against the sky, no matter how sunny it can be. The second most preferable background is still water. Otherwise, your autofocus system might have trouble with too many details in the background.
If you can’t get a full view of the sky behind the bird, it’s okay to have other scenes in the background as long as they’re far away. For instance, having a forest or a mountain at the bird’s back is fine. Just make sure they aren’t too near not to confuse your autofocus feature.
You don’t want your lens constantly focusing on random objects in your camera range, right?
Step 4: Adjust Your Camera Settings
Without the right camera settings, the previous tips won’t have much effect on the quality of your picture. This is why you’ll need to pay close attention to how your camera performs. Here’s what you can do.
Use the Shutter Release to Focus
According to bird photography experts, focusing with the shutter release can make your job much more simple. Here, you’ll half-press the shutter button to focus, then fully press it to release the shutter.
The only alternative to this method is to use back-button focusing, which will have you pressing two buttons at once. It may not be comfortable when shooting birds in flight, and you might end up with a sore hand and fingers.
Don’t Forget to Select Autofocus
Again, this option will make your work a lot easier, leaving you to concentrate on the bird and the frame instead. Using the autofocus feature is recommended when shooting larger birds. This is because you can put the focus point precisely where you want it.
If that gets tougher, you may want to choose other focus patterns on your camera. For example, Tracking Sensitivity is a great feature to use with faster birds and detailed backgrounds.
Consider Using the Focus Limiter
Another beneficial camera setting you can use to your advantage is the focus limiter. This option lets you ignore closer objects.
This way, your autofocus should be able to work better to concentrate on the bird.
Pay Attention to Your Camera Settings
Now, your camera parameters can make or break your photos, so you’ll need to select them with care. It’s best if you do this before heading outside.
Top Tip: For starters, choose Manual exposure mode, and set an aperture of 16. Next, pick an ISO that allows you to set your shutter speeds with more freedom.
As for the shutter speed, you should go for fast values not to let too much light in since you’ll be shooting in bright light. Go for 1/2500 or 1/3200 and experiment with different speeds until you get the desired results.
Don’t Use Image Stabilization
You won’t need to put image stabilization to work because your shutter speeds will be too fast for it. Besides, using image stabilization can interrupt your progress since it can slow down lens performance.
Also, this feature can make it harder to follow your bird as it flies around.
Step 5: Pre-Focus Your Camera
Once you’ve figured out all your camera settings, it’s time for action!
A great way to start shooting is to pre-focus your lens to a distance within the range of the bird’s path. Of course, this requires some forecasting skills on your part, but you should do pretty fine after several tries. Just take note of the general direction of the bird, and the rest will follow.
If you don’t pre-focus your lens, the autofocus feature might have some difficulty targeting the bird right away. Now, how do you pre-focus your lens successfully?
- Point the camera at the ground beneath the distance where you expect to pick up the bird
- Set focus to that exact spot
- Raise the camera to the sky
- Patiently wait for the bird to come to the camera range
- Activate autofocus
Step 6: Work on Your Body Posture
Even the way you carry yourself can help you photograph your bird more effectively. The perfect stance to use is to spread your legs a little bit while bending your knees slightly.
Next, hold the camera securely with your right hand, and support the lens with your left hand. If you’re left-handed, just switch places. Then, tuck your elbows closer to your body.
When tracking the bird, do it with your whole body instead of just your arms and hands. It gives you more confidence and less strain on your arms to make your work easier.
Step 7: Try Using Bump Focus
‘What is bump focus?’, you might ask.
To put it simply, this method depends on pressing the autofocus button intermittently as the bird approaches you. This way, the main subject of your picture will remain almost in focus, preventing the focus point from straying to another place.
Then, when the bird is clearly in range, you’re allowed to press and hold the focus button in full force.
Step 8: Fire Your Shots
After following all the previous guidelines, the only thing left to do is to take your photos. When you get to this point, try not to center your entire attention on firing the shutter. You could easily lose focus on your subject this way.
Instead, direct all your attention to keeping the bird in the frame, then fire the shutter when the time is right.
Step 9: Practice Regularly
If you’re a beginner at photographing birds against bright skies, or generally in flight, it’ll take a while before you take a flawless shot. However, practice makes perfect, so you should keep that in mind to get the results that you want.
Author Note: The good news is that you can practice taking photos of birds anywhere and anytime. Even if the majority of these shots won’t make it to the final cut, they’ll get you more familiar with how the camera works.
Plus, practice will improve your technique, body position, and more, which are all important to a great degree.
The Bottom Line
If you’ve been wondering how to photograph birds against a bright sky, we hope this guide was able to help you out. While this mission can seem tricky in the beginning, it should be easier with trial and error.
Plus, following our tips should put you on the right track. And the more you practice, the faster you should master bird photography in any weather condition. We hope you enjoyed this guide on how to photograph birds against a bright sky.
Now, who’s ready to explore the skies with their cameras?
Fly high friends!
FAQ
It should be as fast as you can manage. At the least, it should be 1/2000th of a second. Remember that you may have to adjust your ISO and aperture settings to compensate and ensure your photo is well exposed.
For stationery I always use the 4 spots in the middle that make a cross. That way, with the bird in the center of the viewfinder, it will keep the focus on it. You also have a bit more time to adjust if the bird is still.
However, for birds in flight, I always use a wide horizontal bar as the bird is the only object in the sky and as it is moving, you have to move your camera too. This way, the camera will pick it up and hopefully keep it in focus as it moves.
Sometimes, you just get what you get. You cannot dictate where the bird will fly, you simply have to do what you can. A great photographer told me that the number one rule is to ‘expose for the bird’. So even if there is glare or the light is behind the bird, still expose for the bird. Better to get the detail of the bird and dial down the glare in post processing.