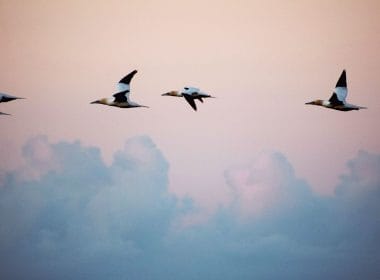
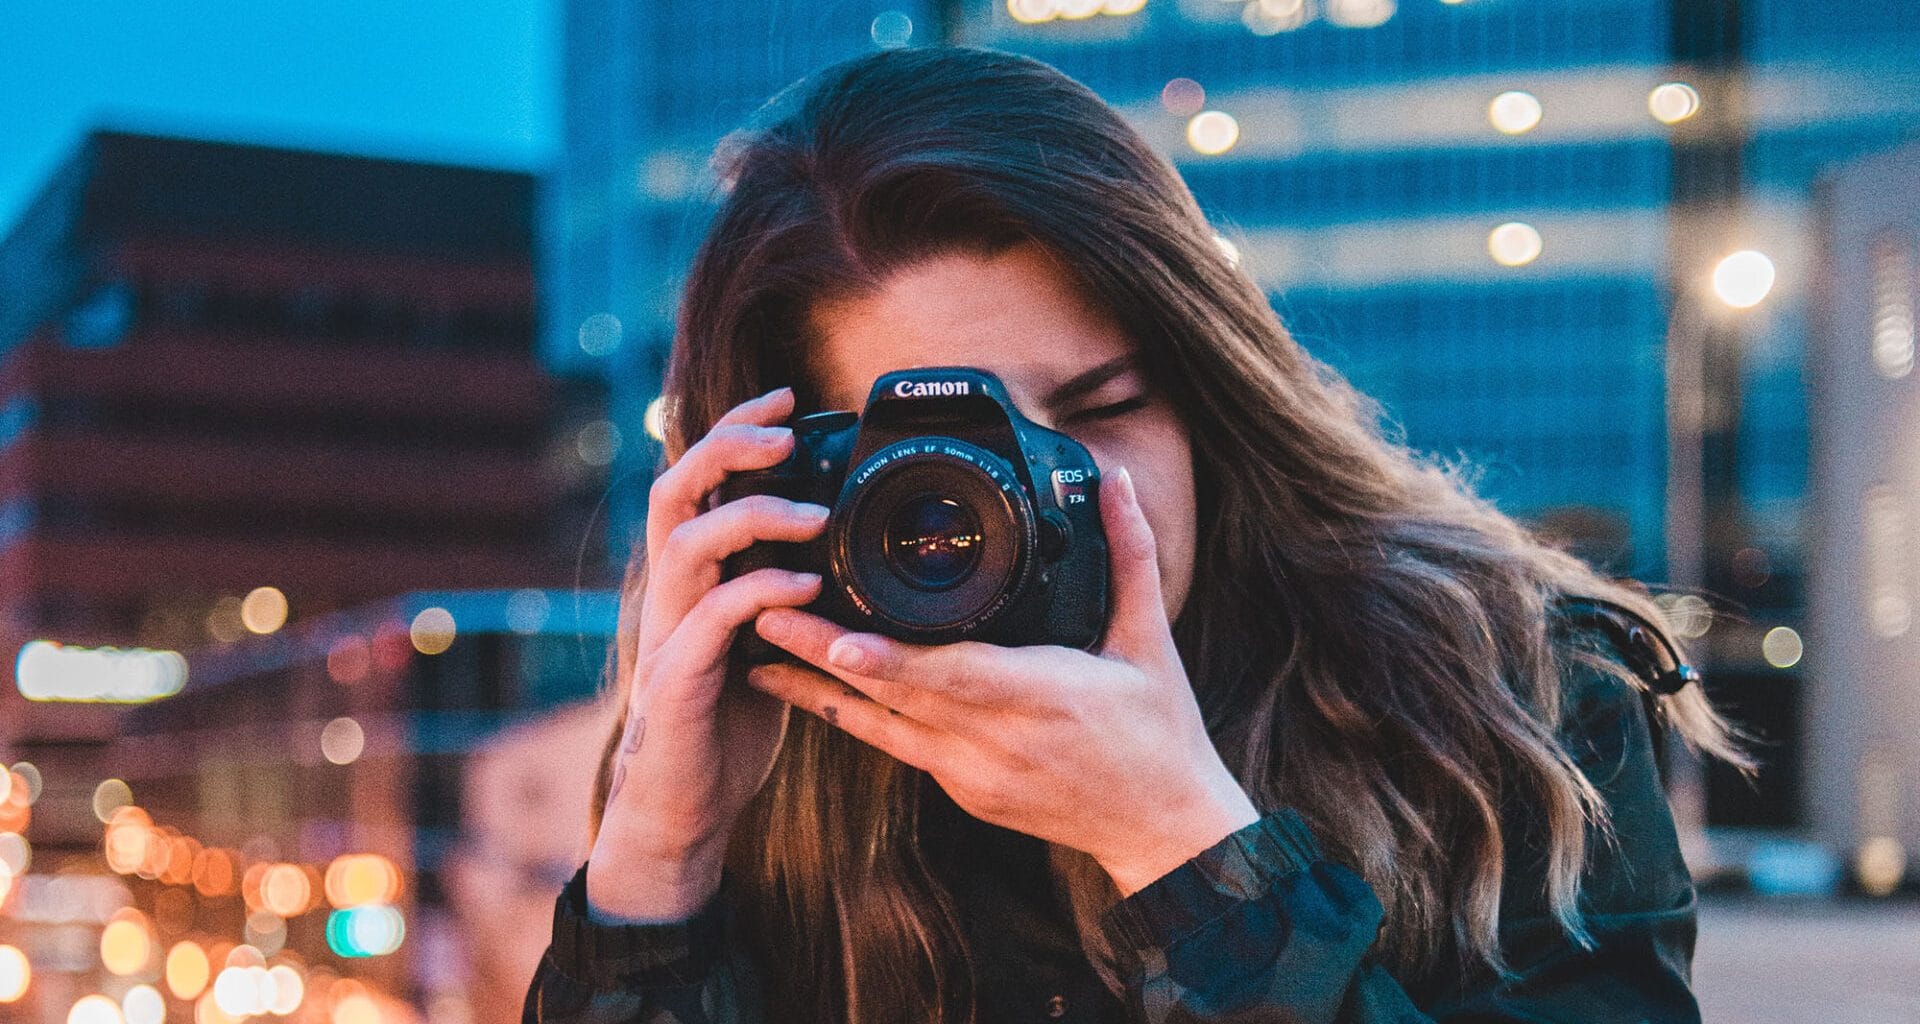
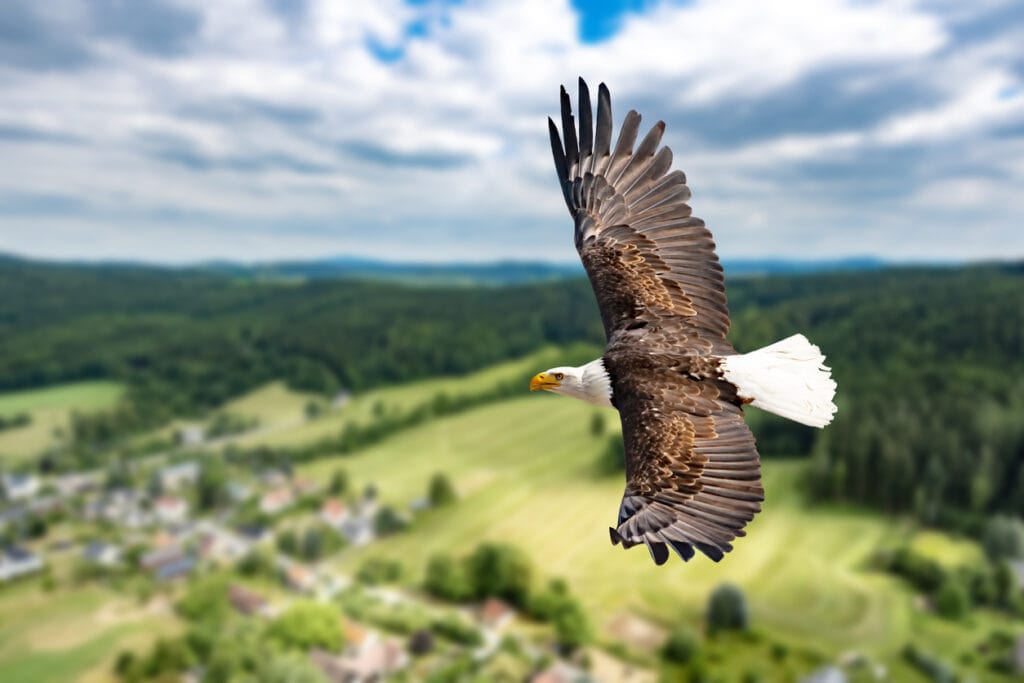
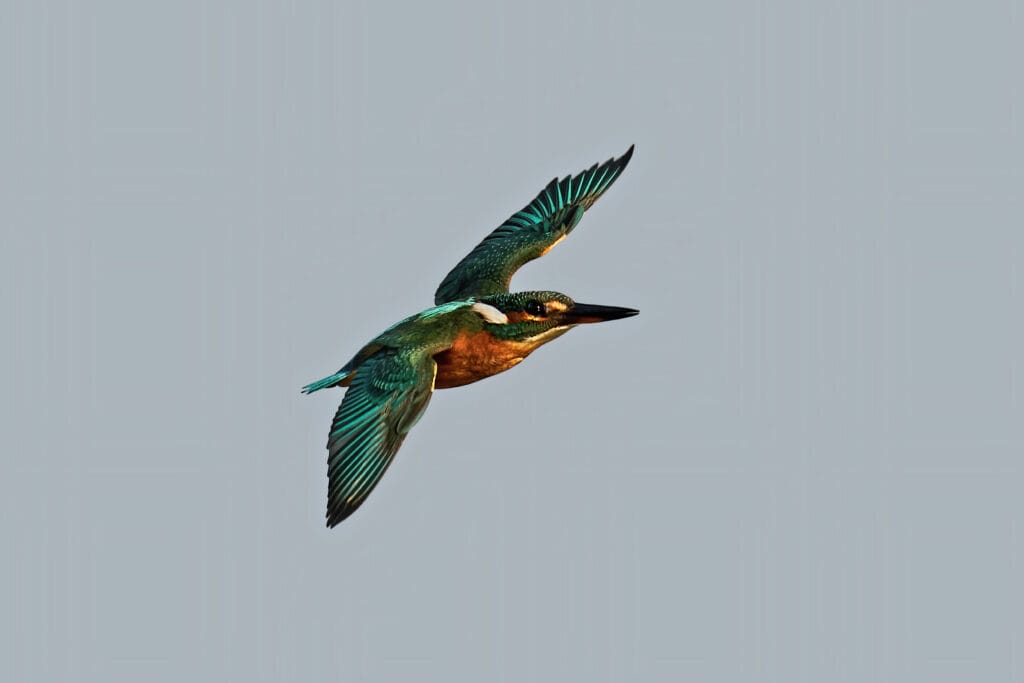
Bird photography is one of the most difficult genres of wildlife photography. Due to the fidgety nature of birds, capturing them in motion isn’t the easiest thing to do, and especially not in low-light. So do you know how to photograph birds in flight in low light?
If not no worries! You’ve come to the right place. We have a few tips and tricks to show you how to photograph birds in flight in low-light and capture the perfect shot.
Tip 1: Adjust Your Camera Settings
Prepping your camera settings before venturing off is not a guarantee of a great photo. However, prepping increases your chances of capturing it.
In normal light conditions, the Auto mode on your camera could work fine, but low-light photography will need a few more adjustments.
1. Aperture and Shutter Speed
Aperture (i.e. the lowest f-number) should be set to the widest setting your camera can take, this is to let in as much light as possible into the lens.
Shutter speed is next on our list of settings. This setting controls the length of time a camera’s shutter exposes light into the camera sensor. This reduces any blur that may happen if your camera shakes when you’re holding it by hand.
However, we do recommend a tripod when shooting a moving subject in low-light to avoid shakiness.
Author Note: This setting should be set low for low-light photos. A golden rule or reciprocal rule to follow is using a speed of 1 over the focal length of your lens.
A combination of wide aperture and low shutter speed will provide a crisp image while reducing motion blur. Moving the camera may result in motion blur, however, if that’s an effect you like, feel free to experiment with moving the camera.
2. Stabilization
Cameras are heavy, and holding still for your low shutter speed to capture your subject may be difficult. In that case, the photo will turn out blurry. To avoid this, you can either try following the subject as it moves to minimize the motion blur or use a tripod.
A tripod would be useful if you plan on shooting for long, and your arms will thank you later.
If you don’t own a tripod, another alternative to reduce camera shake is to enable the image stabilization technology that is either in your lens or camera. For example, if you use a Nikon, you can use vibration reduction.
3. ISO Settings
This determines how sensitive your camera’s image sensor is to the light. The higher the ISO setting, the brighter your image will be. But be careful that even in low-light photography, if set too high, ISO can cause image noise or grain.
Lower ISO results in sharper images, but won’t be ideal for low-light. We recommend adjusting it at an average, say 800, and test it out.
If low ISO is giving your blurry images, you can always opt for higher ISO and touch up the noise later in post-processing.
Remember that editing a bright photo is easier than editing an underexposed one.
4. Burst Mode
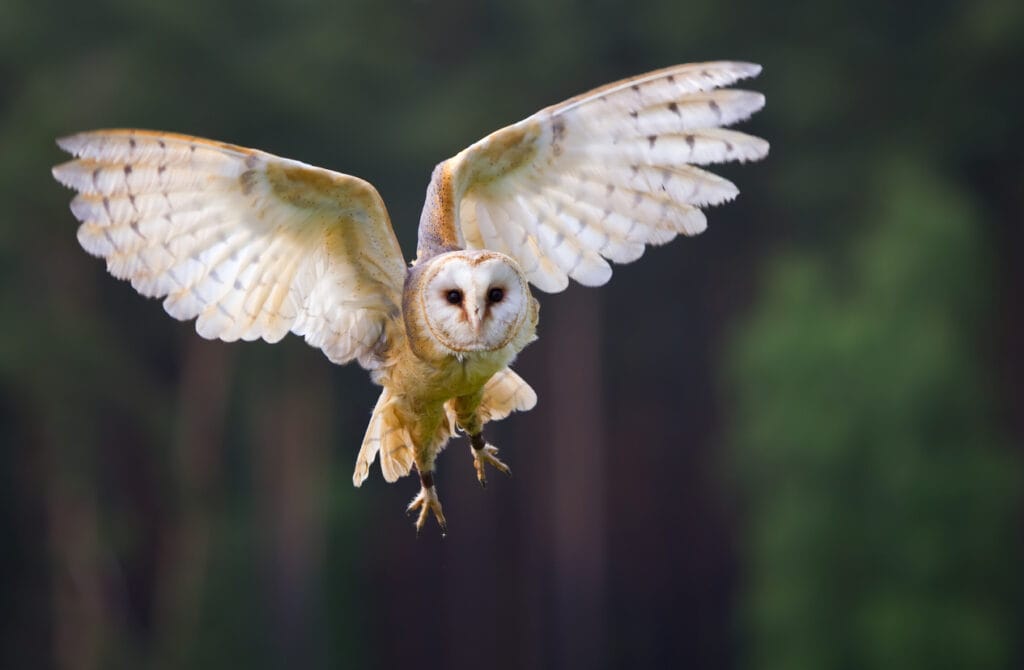
When you’re worried that you might not get that perfect shot from the get-go, which is likely with flying birds, burst mode is your friend. Firing off multiple frames will give you a better chance at getting that perfect shot.
Enabling continuous focus mode, (Canon’s AI Servo or Nikon’s AF-C) will make sure that your subject is in focus at all times.
When using this mode, you might need to fiddle with the aperture, shutter speed, and ISO to get the perfect mix.
The speed of your camera’s bursts will depend on what type of camera you have. Some models offer two or three FPS (frames per second), while other high-end models can give you eight and above FPS per burst.
Author Note: Some cameras also have adjustable burst settings, a slower setting will give you a bigger interval between shots, and vice versa.
The only downside to this mode is that it’s a battery killer. If you’re planning on using it extensively, bring a spare battery or two just in case.
Pro tip: is to keep yourself from checking what you shot till you’re completely done. Going back to see what your lens captured could be wasting your chance to get the shot you wished for.
5. JPEG or RAW?
Before choosing which format is better, you need to consider the pros and cons of each.
Shooting in RAW:
- Produces high-quality, sharp images
- Images take up a considerable amount of space on memory cards
- Has more post-processing options.
Shooting in JPEG:
- Is memory card friendly,
- Produces decent image quality
- Isn’t as post-processing friendly.
We personally recommend shooting in RAW for birds in flight in low-light to give you more room to edit the photo in case of any defects or tweaks.
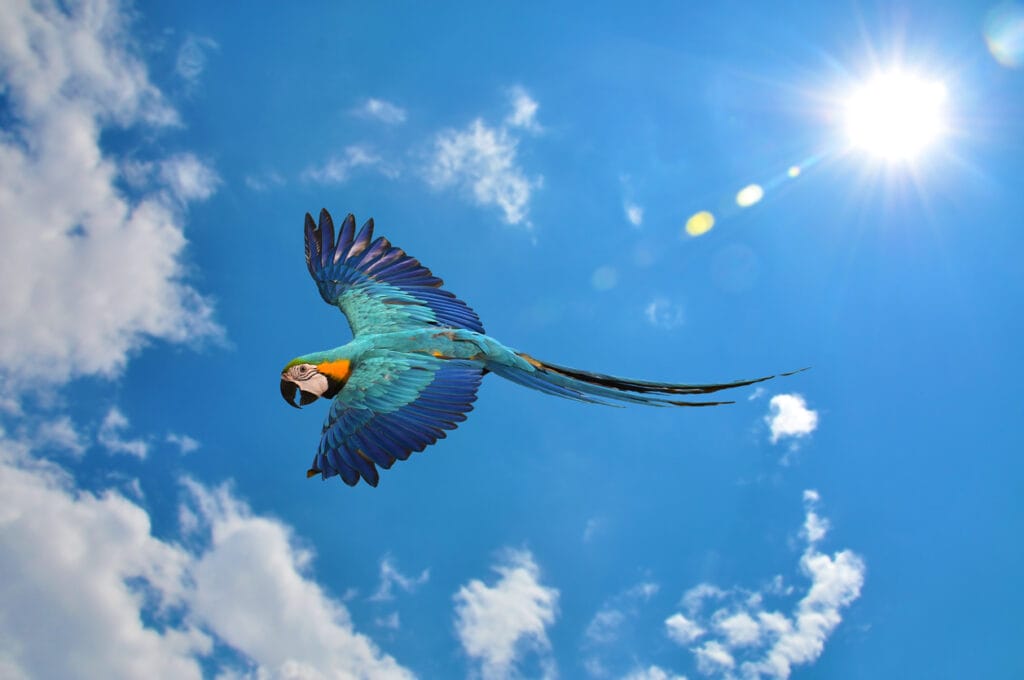
Tip 2: Use The Golden Hour To Your Advantage
This is an optimal time for low-light photography, it starts about an hour after sunrise and an hour before sunset, both of which are active times for birds. However, it can differ from one location to another, but you can easily figure it out using a golden hour calculator.
What’s So Great About It?
It provides softer lighting that is more flattering than the midday sun’s harsh lighting, making it easier to work with. That’s mainly due to the gradual transition from light to dark, which makes the light soft and flattering. The warm, orange glow radiates off of subjects, and the light is easy to direct without using a flash.
Lighting
The golden hour can give you various results based on how you position your camera in relation to the sun. If you’re opting for a visible subject, position your camera so that the sun is to the side.
Author Note: Backlighting is perfect for giving your subject a majestic glow behind them and will accentuate birds in flight even more.
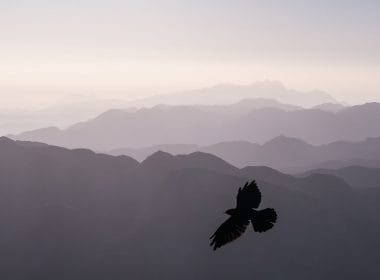
Silhouettes, on the other hand, can be achieved by shooting towards the sun, the high contrast of silhouettes adds an air of mystery to images.
Time is of the essence when it comes to utilizing the golden hour, so is adjusting your settings accordingly to match the fading light. You’ll find yourself adjusting the ISO and exposure quite a bit, so opt for a manual or semi-manual mode.
Tip 3: Editing
Once you’re satisfied with what’s on your memory card, it’s time to head back to our editing software for some touchups.
The number of tweaks will vary according to what your camera settings were. But there are a few to tick off for starters.
1. Exposure
If you opted for underexposing your photos, this will result in an image that needs brightening. If your image is overly dark, the more you lighten it, the more noise (grain) the photo will have. So opt for a balanced exposure level.
2. Noise
Whether caused by high ISO or brightened underexposed images, this can be somewhat reduced in post-editing. Unless you’re going for the vintage grainy vibe, of course.
Most editing programs have a noise-reducing filter that you can adjust to your heart’s desire. Be careful not to over-adjust the noise or else the photo may come out blurry.
3. Color-Adjustment
Not all photos would need color-adjustment, but when photographing in low-light, especially with a bird that blends in a little too much with the surroundings.
Color-adjustment can be used to help your soaring subject pop against the background. This is easily done with RAW formats than JPEG formats.
4. White-balance
Low-light can sometimes leave an image feeling washed out or tinted. If your camera’s settings failed to adjust it, you can easily fix it by adjusting the white balance to fit the tone and lighting of the image.
5. Black and White
Although this is up to your artistic inclinations, sometimes a photo can only be salvaged by turning it black and white. This can hide any graininess or imperfections, and also give a dramatic flair to the image.
Author Note: Black and white photos are easier to edit because you don’t have to worry about white-balance and tints. It is also easier to adjust using levels and curves than editing a colored version.
Tip 4: Don’t Shy Away from Trial and Error
The tips and tricks we’ve gone through are not set in stone. Experimenting with the different settings on your camera, lens, and modes can render outstanding images or those that end up in the bin.
Trying combinations of settings till you find what fits you and your style is a necessary step that would improve your style immensely!
Final Thoughts
That pretty much sums up how to photograph birds in flight in low light! Preparing your gear before setting out to capture flying birds in low-light will save you the hassle of fiddling with the lens, camera, and settings. As well as making sure you don’t miss the perfect opportunity when it presents itself.
Utilizing different camera modes and positions, as well as different lighting options will give you some neat results. But most importantly, experimenting and trial and error will help you find what works for you and your camera.
We hope our handy guide gives you some insight on how to photograph birds in flight in low light.
Fly high friends!
FAQ
I found this guide really helpful in explaining the basics and more advanced techniques:
https://digital-photography-school.com/start-here/
You really need to use manual mode and be shooting RAW images. This gives you the most control over your shots as you take them and the most flexibility in correcting them when processing.
Sure, but only really for stationery birds that are close to you in low light. Even then you should only take 1-2 shots so you don’t stress the bird. If you are shooting flying birds in low light, a flash is pointless.