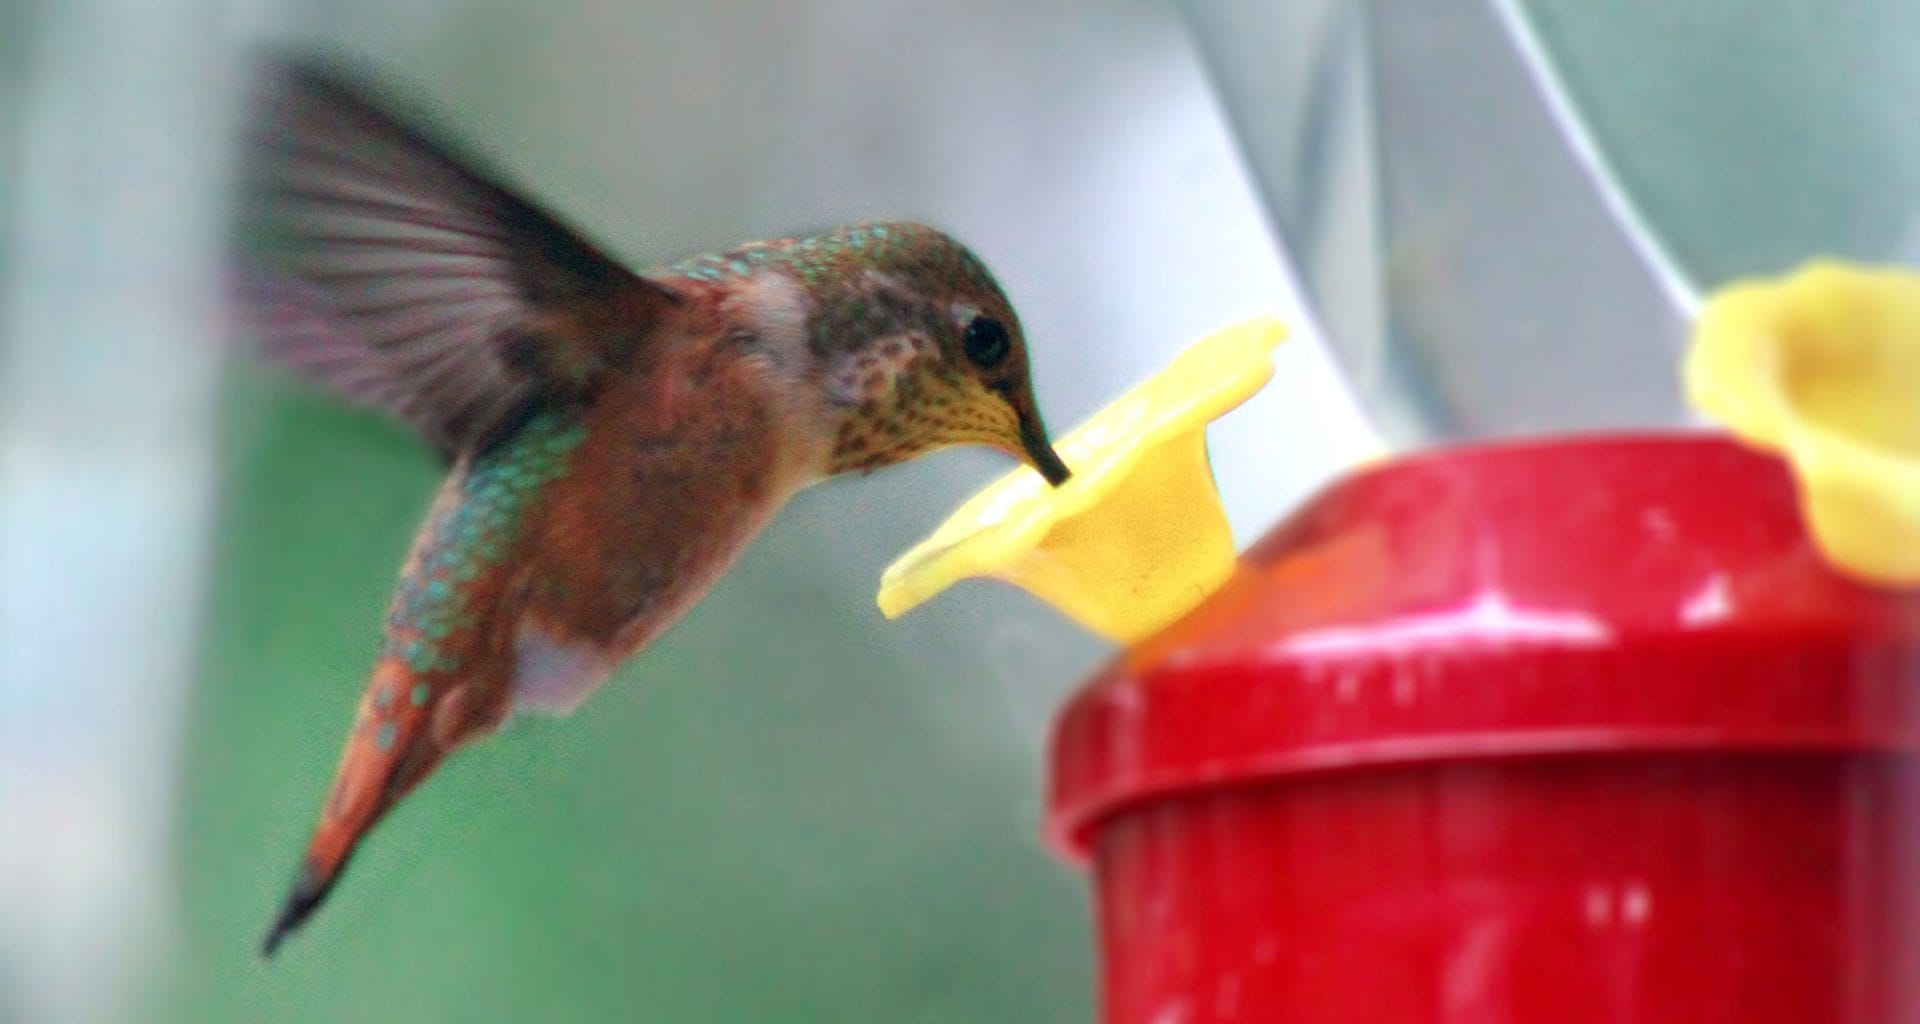
Watching hummingbirds feed nectar on your balcony is a great joy. But if you are going to feed them, you need to know how to sterilize hummingbird feeders properly so that the little ones are happy and healthy.
They are also not going to come back if the feeders are dirty or make them sick. So, here’s how you take care of business.
Why You Must Clean the Feeder Regularly
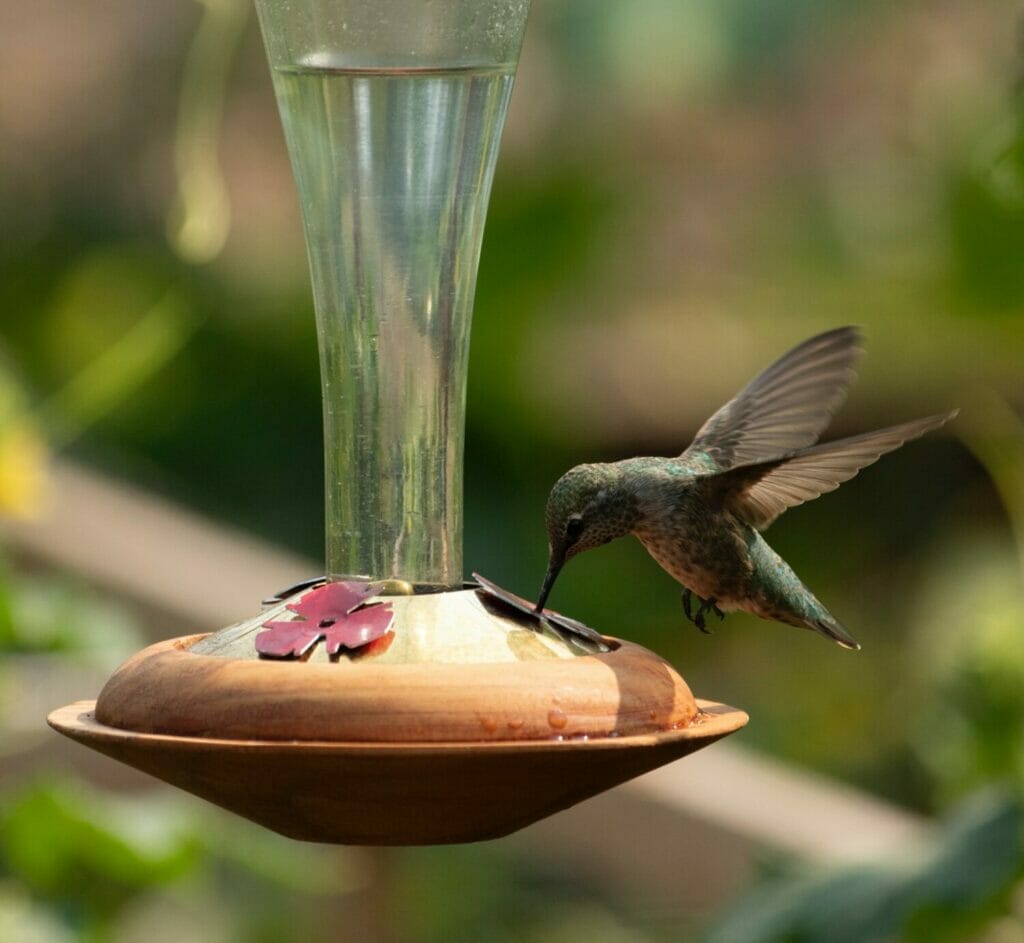
These little birds can be quite fussy to feed. If the feeder is dirty, for starters, they won’t visit as often or at all. But that’s not the only problem. The nectar that is used in the feeders tends to ferment over time and it can cause damage to the hummingbirds’ organs.
That’s because the sugar breaks down and causes black mold or makes room for fungi and bacteria. If the birds accidentally consume any of this, it will most definitely cause them to get sick and can even be lethal.
Author Note: Apart from that, when figuring out how to sterilize hummingbird feeders, you must remember that sugar also tends to crystallize. And when it does, it gets stuck in the feeder ports and that makes it all the more difficult to clean it properly.
So, if this happens a few times, apart from the fungi and bacteria, you will also damage the feeder beyond repair.
When Is It a Good Time?
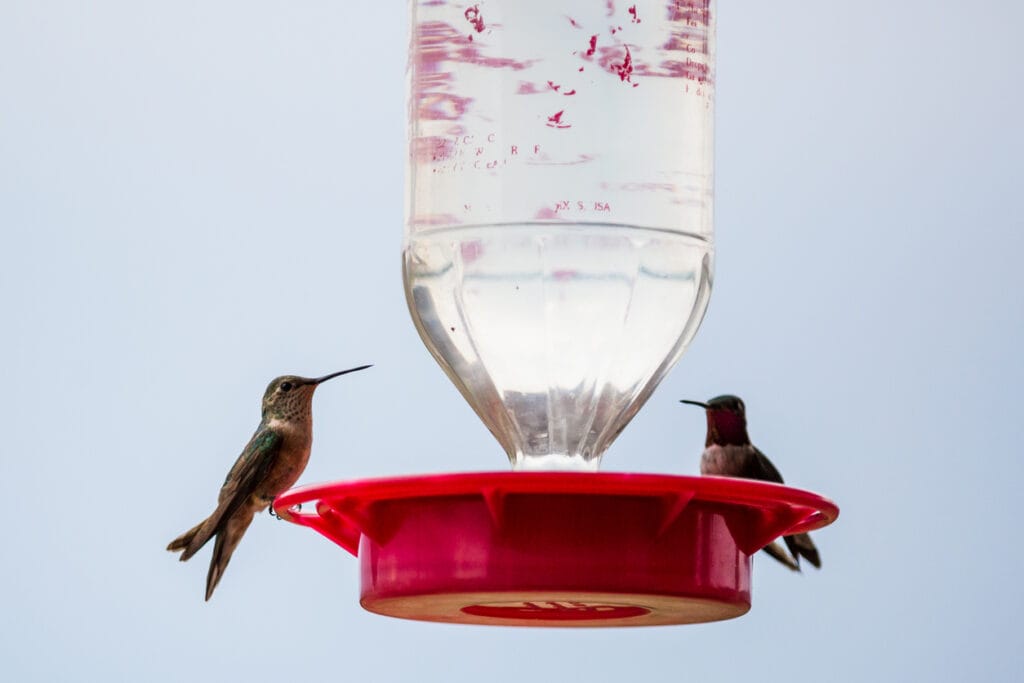
When the weather is hot, the ideal scenario is to replace the nectar once every few days. If you are late on the cleaning schedule, don’t worry about how long it’s been.
Fortunately or unfortunately, the sugar solution turns a little cloudy when it starts to get spoiled. You might also notice small insects or other debris floating around in the feeder. These are signs that you absolutely have to clean the feeder.
But don’t rely on them because if this is the case, you are in the worst-case scenario and it’s possible that some damage has already been done. Hummingbirds are small, sensitive and have a relatively delicate digestive system.
But when you see cloudy sugar water, clean the feeder and replace the solution. And while you’re at it, make sure you take a good look at the feeder ports. If they haven’t been cleaned in a while, they get clogged and mold starts to slowly grow on them.
Typically, you must replace it every three to four days if the temperature where you live is more than 80 degrees Fahrenheit. And if the mercury goes above 90 degrees, well then you have to do this every two days.
In any case, you must schedule a deep cleaning session at least once a month to make sure your feeders are clean and healthy for the hummingbirds.
Some Basics before You Start Cleaning
One of the critical steps in the process of how to sterilize hummingbird feeders is rinsing it afterward. Each time, you must rinse the bottle thoroughly. There are a few ways to do this but in all cases, you must try to avoid soap as many times as possible.
This is because it is believed that birds can taste the residue and are not very fond of it. Can’t blame them, can we?
Luckily, cleaning a hummingbird feeder is not a difficult task. In fact, you can clean more than one feeder at a time. It takes very little effort and the reward is immense.
You only need a few basic tools like soap water, a scrubber or an old toothbrush to clean the feeding ports that are otherwise hard to reach. You can also use a bottle brush if you’ve already got one at home.
Now, one of the simplest ways to clean the feeder is to boil the feeder in water. And after boiling it, make sure you rinse the feeder again because once you might have gotten rid of the bacteria, but sometimes, there will be a residue of sugar water that needs to go.
Author Note: Rinsing is also an important step in the process of how to sterilize hummingbird feeders because some people use extremely diluted bleach for cleaning. And you absolutely must get rid of every bit of it.
But this works based on the material of the feeder and whether or not it can handle the temperature without getting deformed. If that is an option, well, you are in luck because this is a very efficient way to remove sugar residue.
Otherwise, you will need to use other mild cleaning materials like vinegar or soap water. These materials are also extremely useful (and a must) if you notice black mold on the feeder.
And cleaning such a feeder might take longer than usual for obvious reasons (it takes time to get rid of all the mold and related fungi and bacteria).
We’ll now tell you how to sterilize hummingbird feeders, but you must promise to take good care of them by replacing the nectar and cleaning the feeder diligently.
How to Clean the Feeder: A Step-by-Step Guide
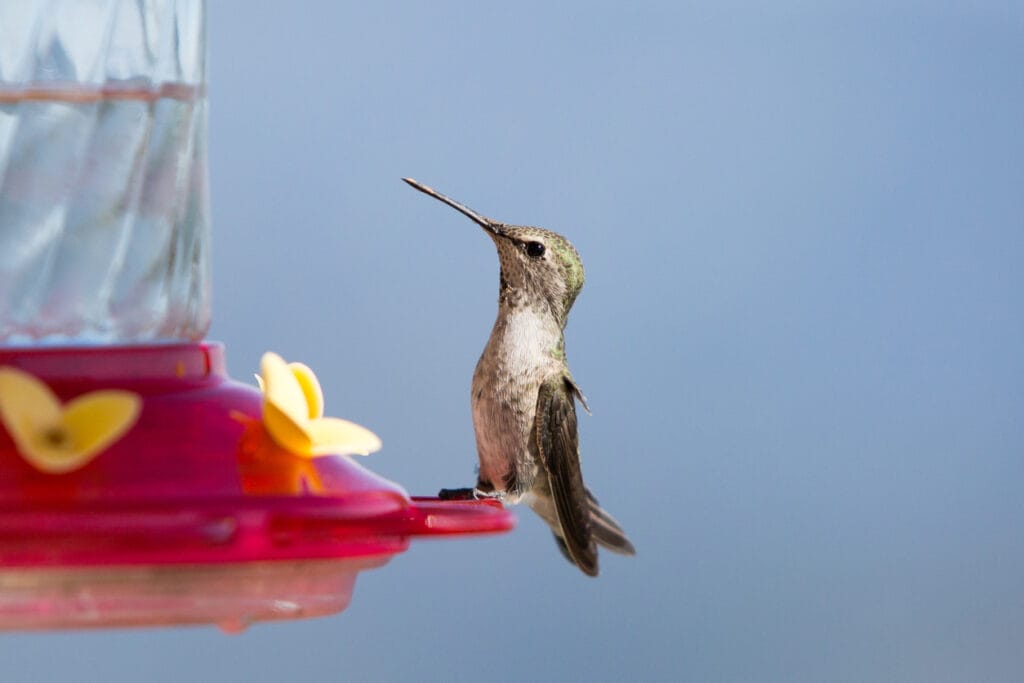
Now, there are three answers to the question—how to sterilize hummingbird feeders. We will give you a quick and easy guide to all of them.
- Cleaning the Feeder with Dish Soap
When using dish soap, you will need hot water that is not distilled.
Equipment Required:
- High-quality feeders
- Distilled water
- Dish soap or detergent (unscented)
- Bottle brush or port brush or curled brush
- Fresh syrup
- Bucket (this is optional)
- Rice (also optional)
The Procedure:
- Step 1: You start by emptying the feeder. That means you must pour out all the nectar that is in the feeder and flush the bottle. It is important to note here that the nectar must not be reused because it will end up getting spoiled soon enough anyway.
If the hummingbirds that visit your feeder are not consuming all of it, consider not filling the bottle as much.
- Step 2: Disassemble the feeder and clean it with warm water. Luckily, a lot of new models can be taken apart in their entirety which makes cleaning them very easy.
This is something to remember when buying a feeder. Taking them apart also makes it easy to clean the bee guards and feeding ports, which can otherwise be hard to reach.
- Step 3: Mix some dish detergent in warm water and soak the feeder parts in the solution. You can do this in a bucket or in the sink.
Leave the parts in this solution for a couple of hours so that they soak and the nectar can loosen up. This will make the next step easier.
- Step 4: Once the parts are well soaked, take whatever kind of brush you have at hand to scrub them thoroughly. A cleaning mop also works in some cases.
Make sure you scrub inside the bottle, especially its base properly. This is important in terms of removing nectar residue, which often gets collected at the bottom of the bottle. Look for spots and clean them vigorously, especially if they are black.
- Step 5: If you can’t seem to get rid of them because they are unreachable or stubborn, take about one spoon of rice and dish detergent. Fill two-thirds of the feeder bottle with this concoction and shake it well.
- Step 6: Empty the bottle after scrubbing it thoroughly. Get some cold water and rinse the bird feeder. Make sure all the nectar residue and dirt are completely gone.
- Step 7: Put the parts of the feeder on a towel or dish rack and let the air dry all the parts completely.
- Step 8: Put the feeder back together after it is dry and fill it back with fresh nectar.
- Cleaning the Feeder with Vinegar
If you are hesitant to use soap detergent or don’t have any, vinegar can be used as an alternative. It has a good sterilizing capacity.
The Procedure:
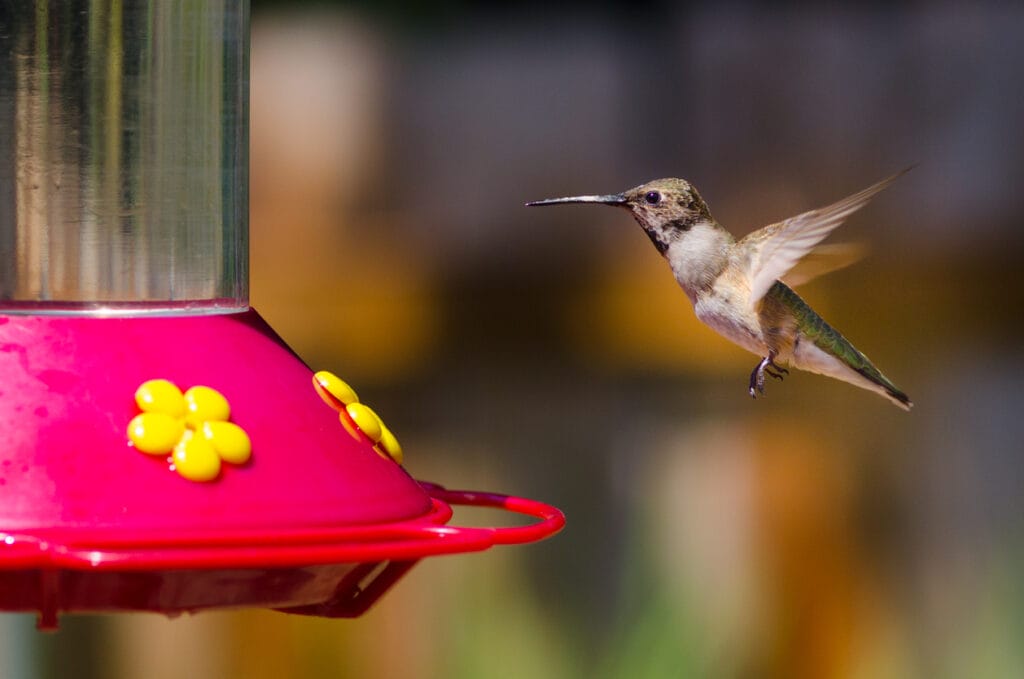
- Step 1: Take apart the feeder.
- Step 2: Take one part vinegar for every two parts of water and fill up the feeder.
- Step 3: Fill the bottle with the vinegar solution and let it soak for a few hours.
- Step 4: Scrub the feeder as directed in the first method.
- Step 5: Rinse the feeder thoroughly to make sure both the sugar solution and the vinegar are completely out.
- Step 6: Refill the feeder with nectar and watch the birds enjoy their meal.
Author Note: You can use the rice trick for this method too. In fact, the rice trick can be used if you don’t have vinegar or soap to clean the feeder.
But remember that it is efficient only when you clean the feeder regularly. It also helps in case you don’t have a brush to clean the nooks and crannies of the bottle.
- Cleaning the Feeder in a Dishwasher
And finally, one of the easiest ways to clean any kind of dish is to place them in the dishwasher. That applies to hummingbird feeders too.
The Procedure:
- Step 1: This is for general cleaning purposes so, check the feeder and make sure it does not have molds.
- Step 2: If it does, scrub the feeder thoroughly before putting it in the dishwasher.
- Step 3: Check the feeder to make sure it is made of dishwasher-safe materials.
- Step 4: Place it in the dishwasher and get it back as good as new.
The Bottom Line
It is important to note that some people also suggest cleaning the feeder with bleach. It is an option but bleach must be extremely dilute (one part bleach for nine parts of water) and the rinsing has to be vigorous. This is because sometimes bleach reacts with the material that your feeder is made of.
If you are not sure, using soap or vinegar is always a reliable way to get the job done.
We hope you enjoyed this article on how to sterilize hummingbird feeders. Want to learn more about hummingbirds? Check out our guide on where hummingbirds sleep and our favorite hummingbird quotes.
Fly high friends!
FAQ
Glass is usually better as it is easier to clean and doesn’t warp or discolor over time. However, plastic is obviously easier and safer to handle. If you have small children around, plastic may be better.
Your hummingbird feeder should be somewhere that you can see it clearly. It is ok to hang it on the edge of your decking area but it should not be in the afternoon sun as the heat will make the liquid spoil quicker.
